Setting up iodéOS is refreshingly straightforward and familiar — especially if you’ve ever used stock Android. The setup wizard closely mirrors the one found in LineageOS and AOSP, which means there’s no learning curve for basic configuration steps like Wi-Fi, screen lock, or app permissions.
What sets iodéOS apart is how seamlessly it integrates privacy tools such as microG (replacement of Google Play Services) options or selecting preinstalled privacy-respecting apps into that familiar setup flow. These tweaks are minimal and clearly explained and don’t complicate the experience; they empower you to take control of your privacy from the start.
Once setup is complete, the system environment feels nearly identical to stock Android. The launcher, settings, navigation, and multitasking are all familiar. The key differences — such as the iodé App for firewall control or the absence of Google services — are subtle and easy to adapt to, especially thanks to the well-selected alternatives like Aurora Store, Magic Earth, and iodé Browser.
In short: iodéOS offers the comfort of stock Android with the power of built-in privacy — without adding friction to the user experience.
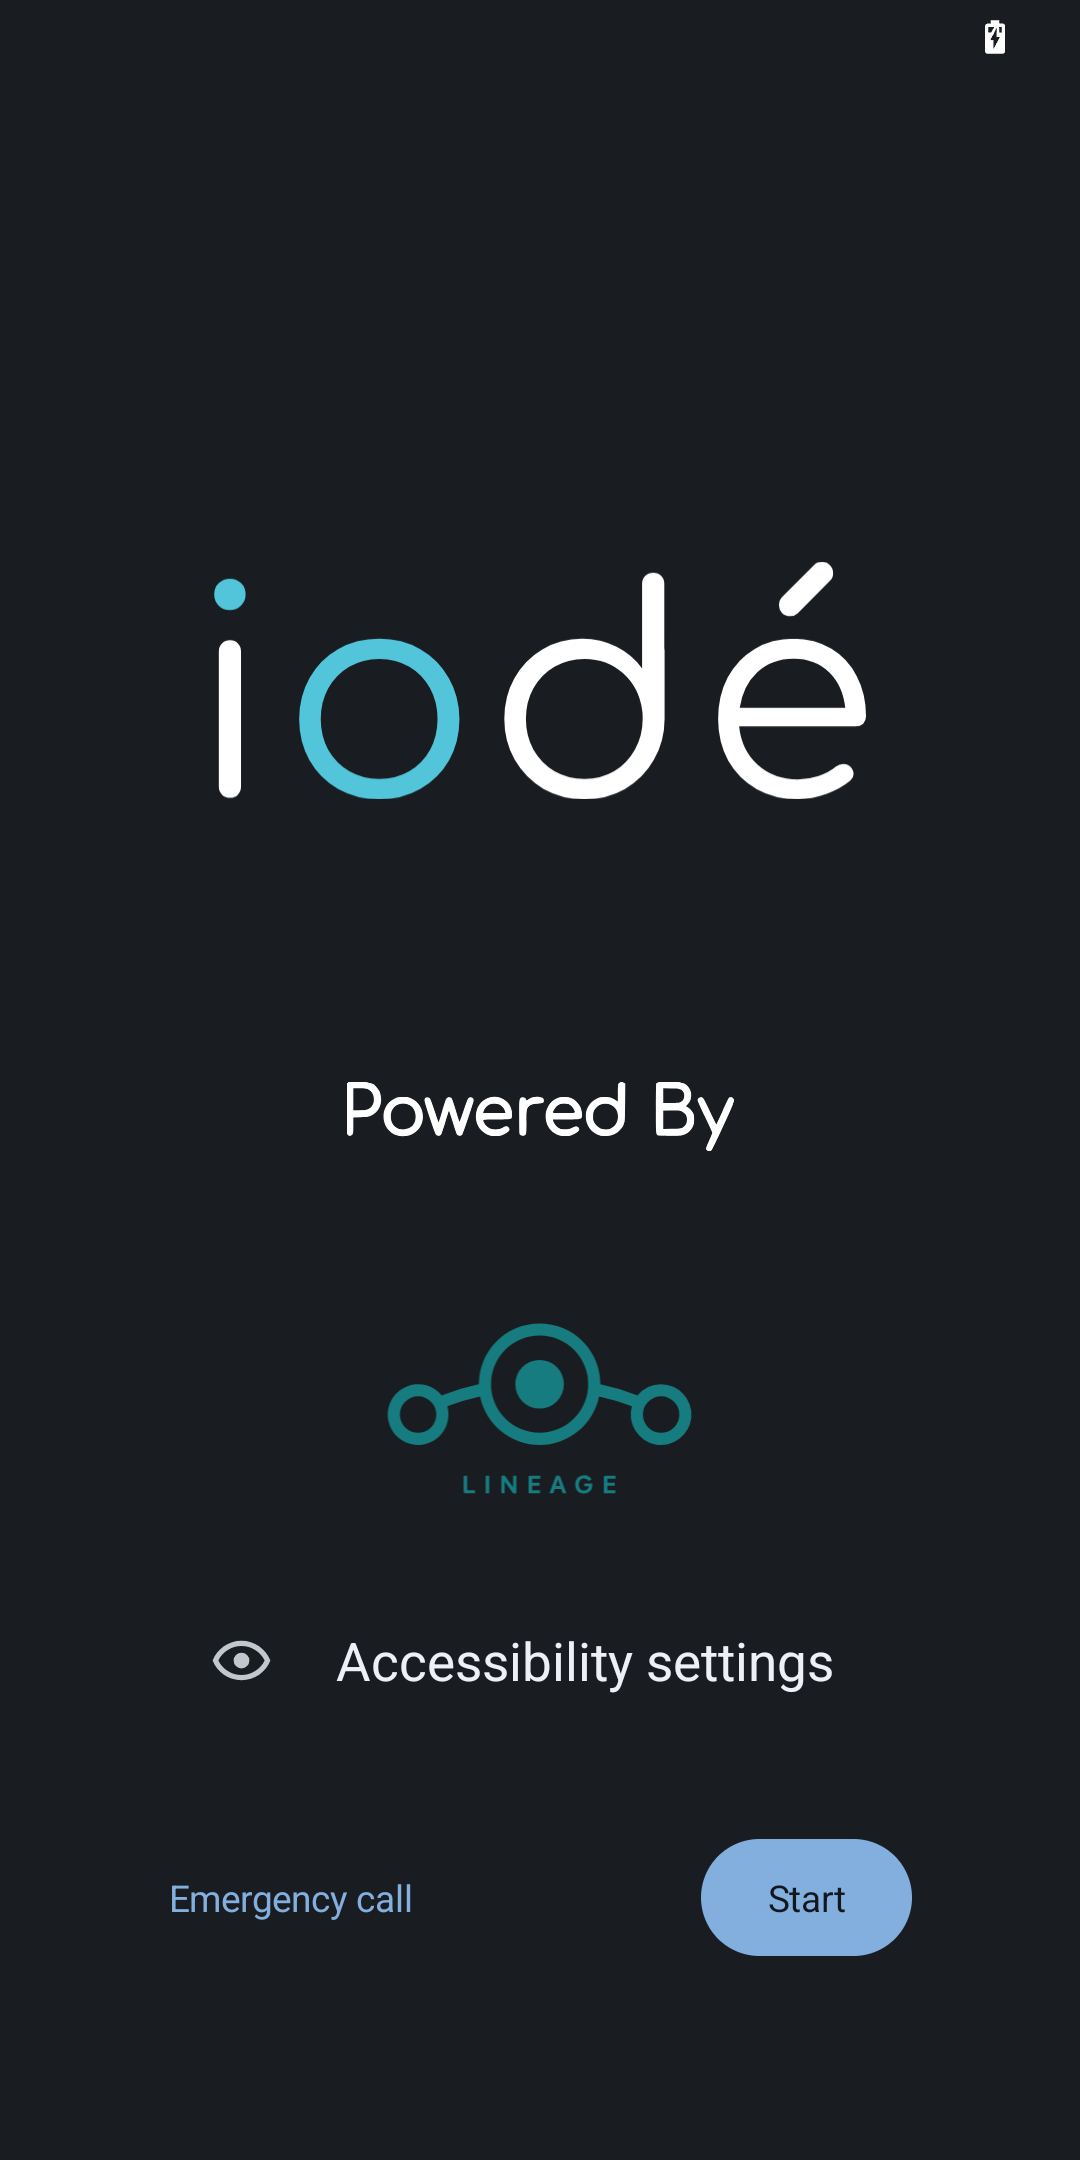
The iodéOS Setup Wizard follows the standard LineageOS flow with a few iodé-specific additions for privacy and customization. This walkthrough covers each step from initial boot to app selection.
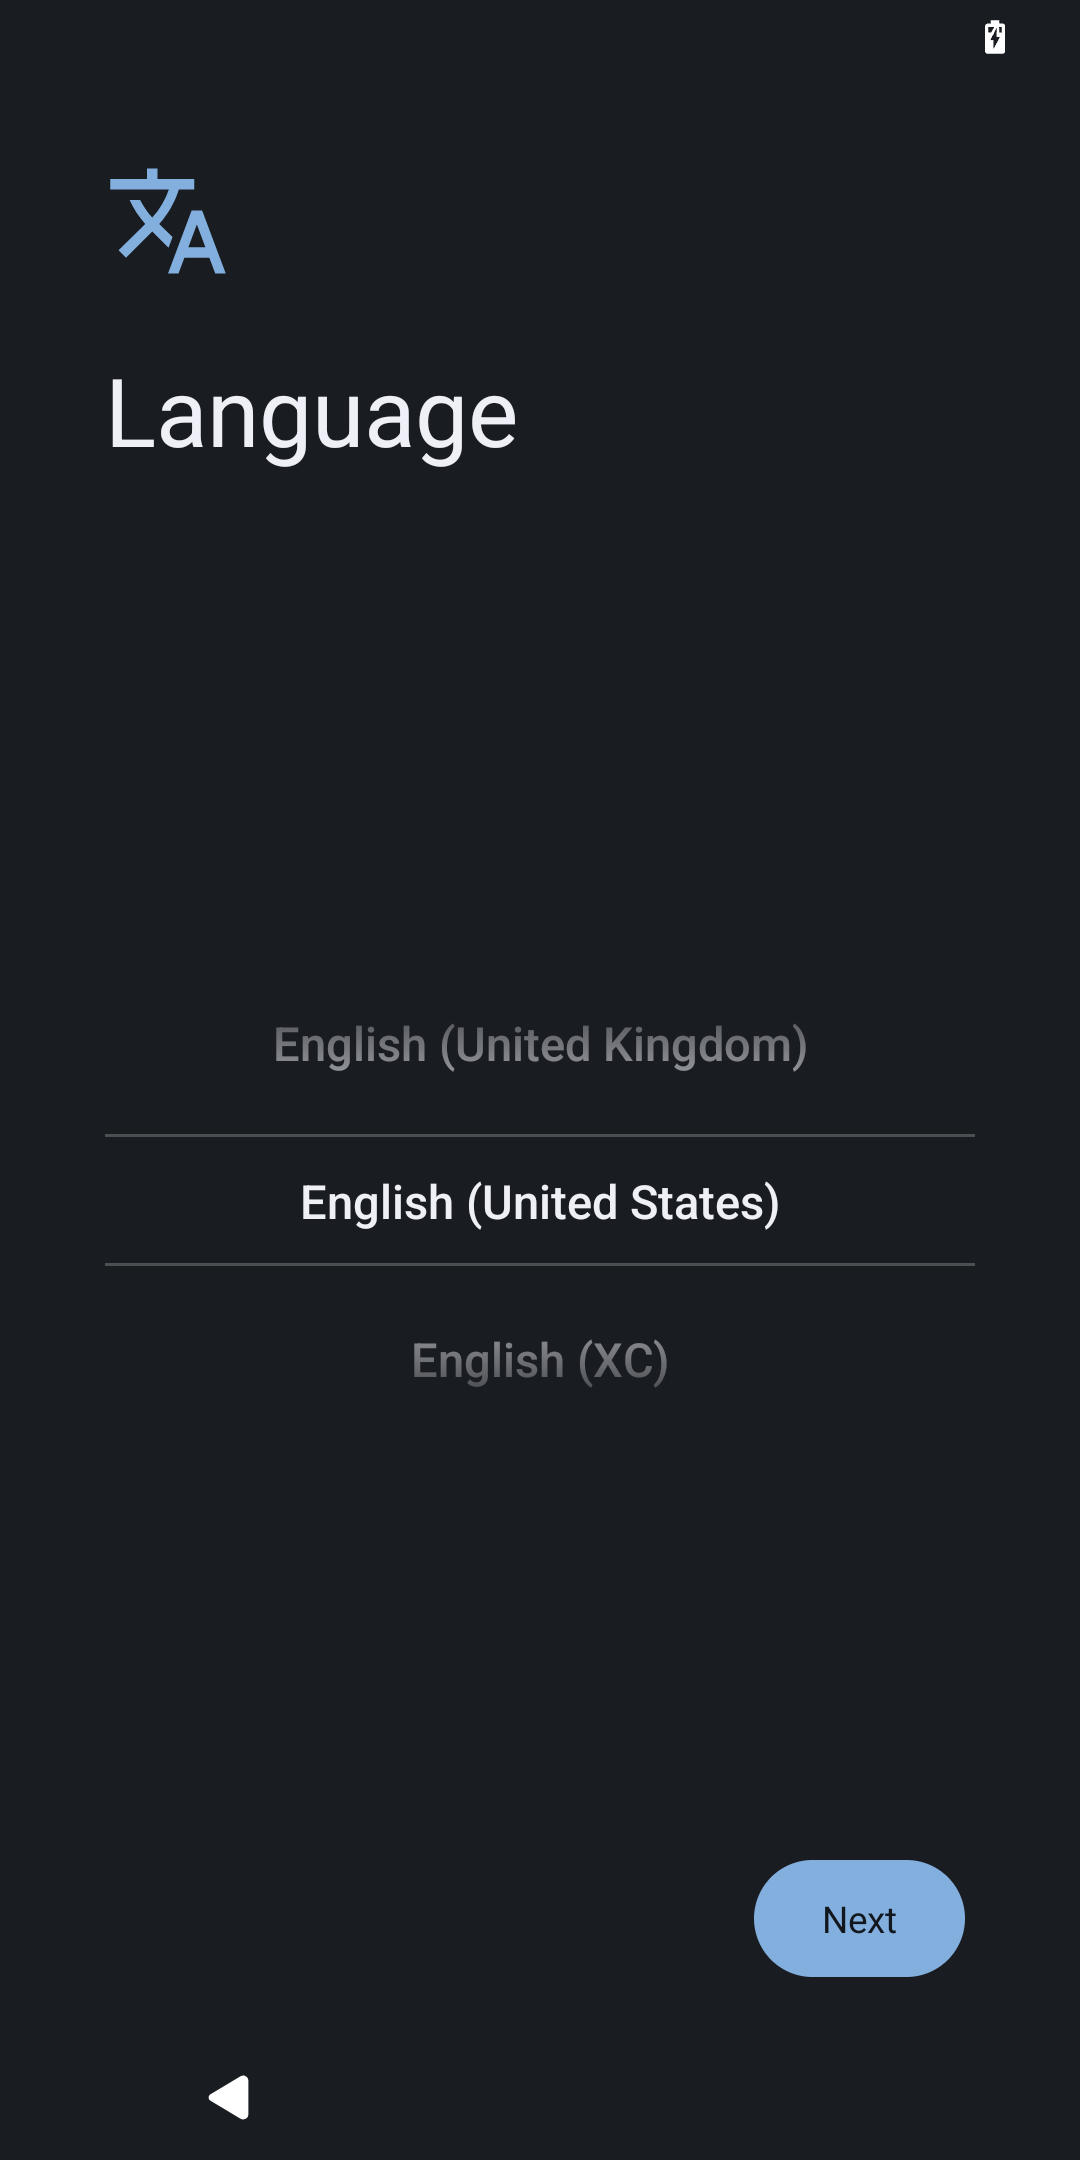
Step 1: Select your Language
Select your system language among over 50 languages.
💡Languages can be added / changed in: Settings -> System -> Language
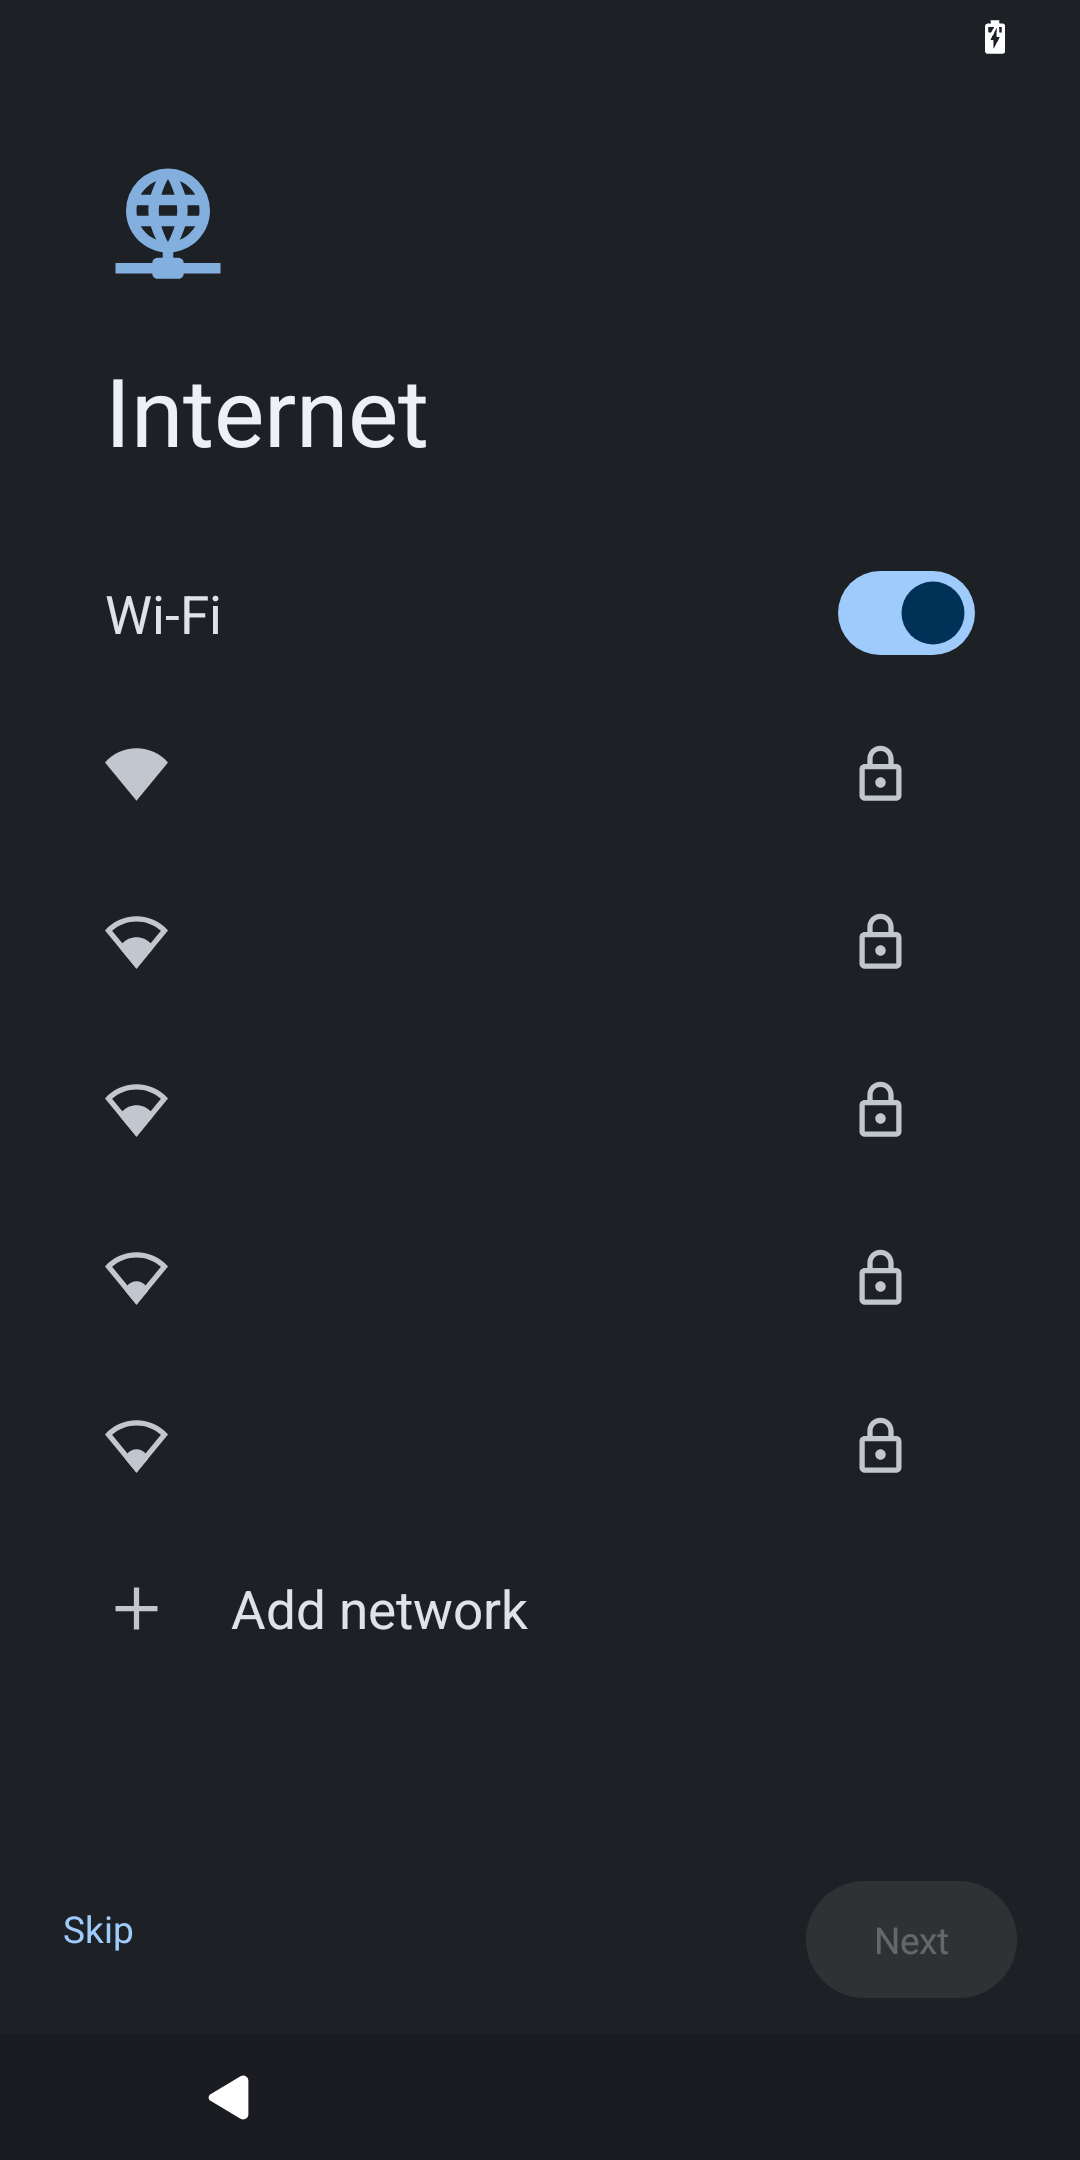
Step 2: Activate SIM Card and Connect to Wi-Fi
If the SIM isn’t already in the phone:
- Power off the device.
- Insert the SIM card into the SIM tray (using the ejector tool if needed).
- Power the device back on.
The phone will automatically detect the SIM. It may show a message like “Activating SIM…” For most carriers, activation is automatic.
For Wifi:
- Choose your Wi-Fi network from the list.
- Enter the Wi-Fi password.
- Tap Connect.
💡Internet and SIM card settings can be changed in: Settings -> Network
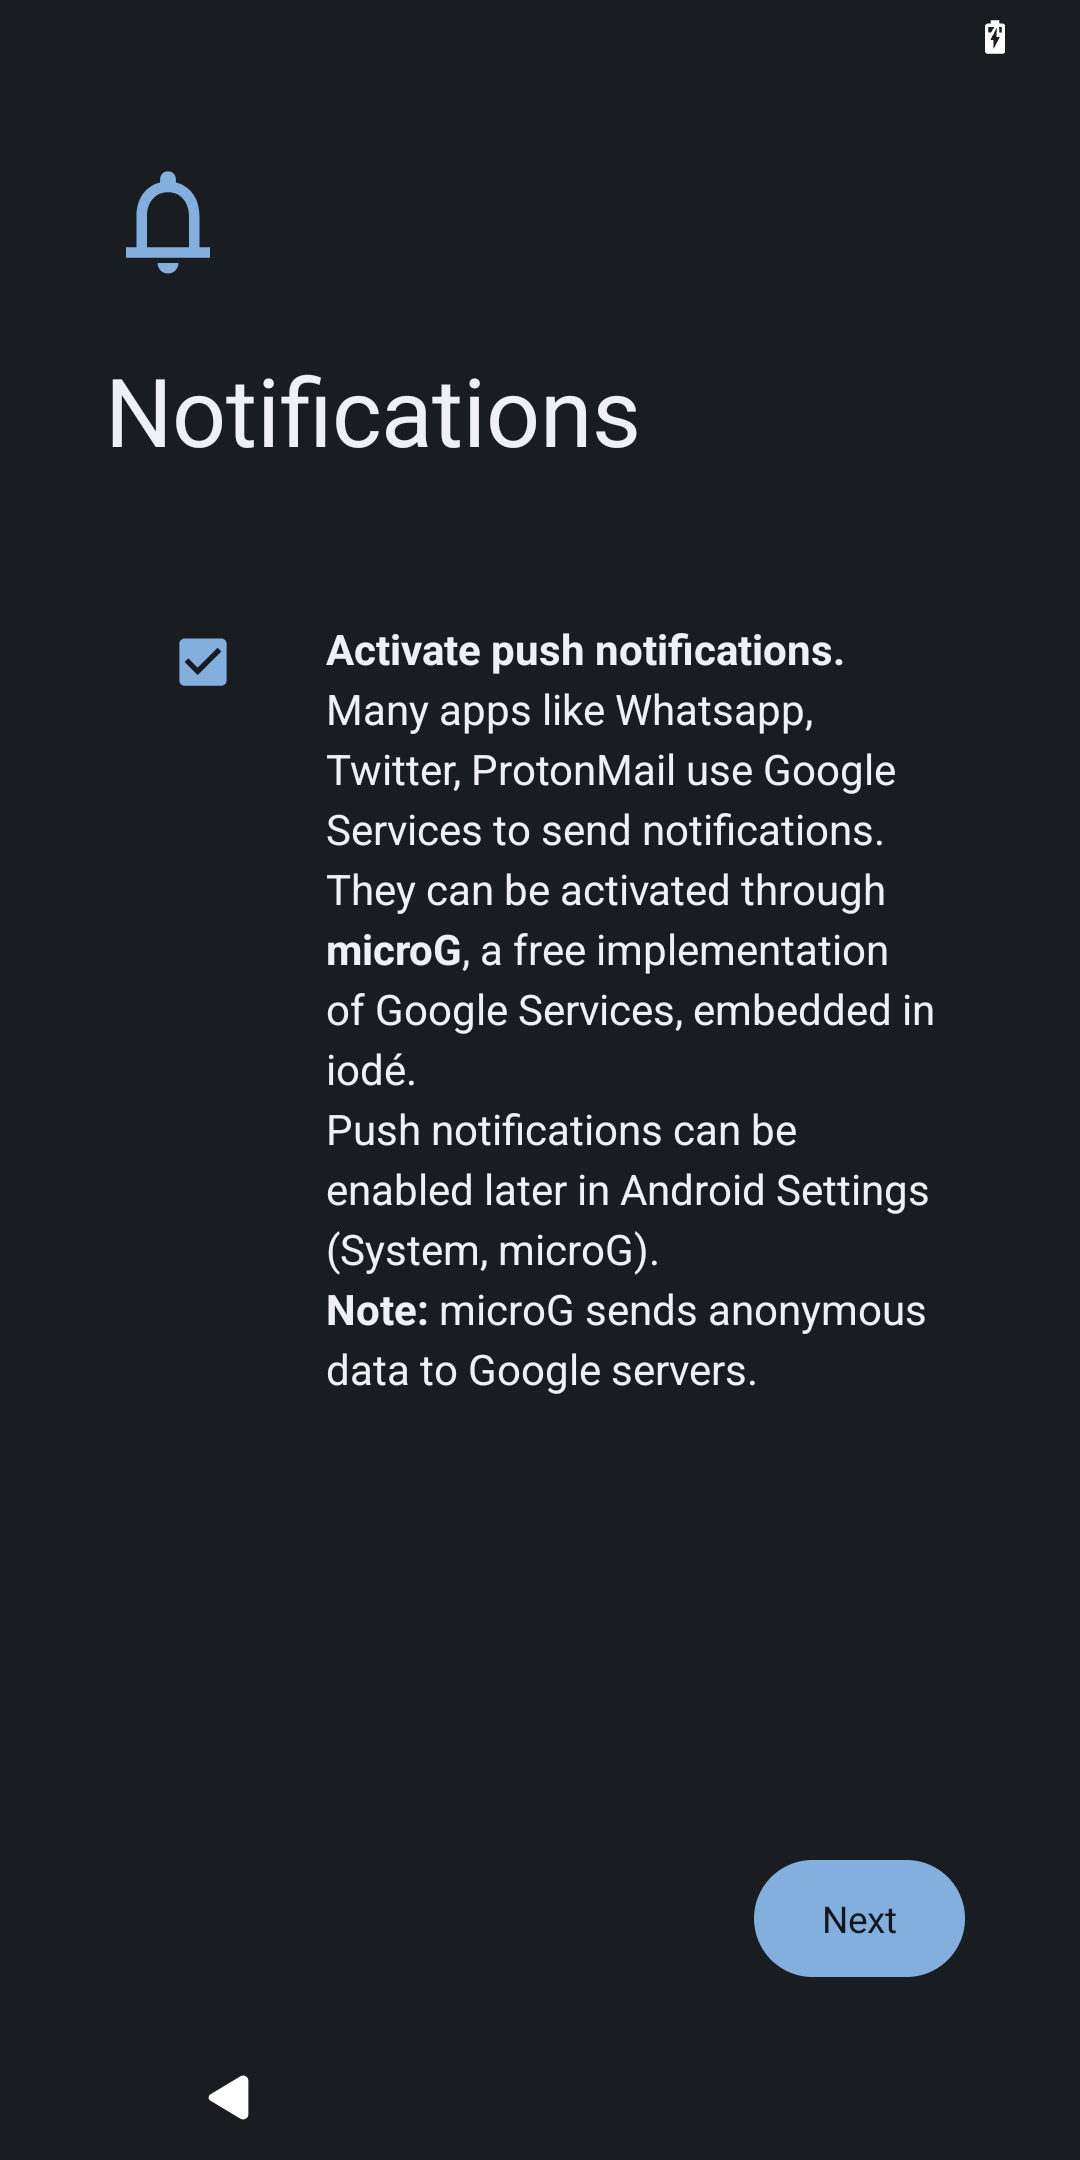
Step 3: Activate Push Notifications
You can disable push notifications as early as during the setup wizard. Since iodéOS is degoogled by default, this screen offers a clear warning about apps you may install later that rely on Google Services for notifications, along with an option to opt out.
💡You can enable/disable push notifications in Settings -> microG -> Cloud Messaging.
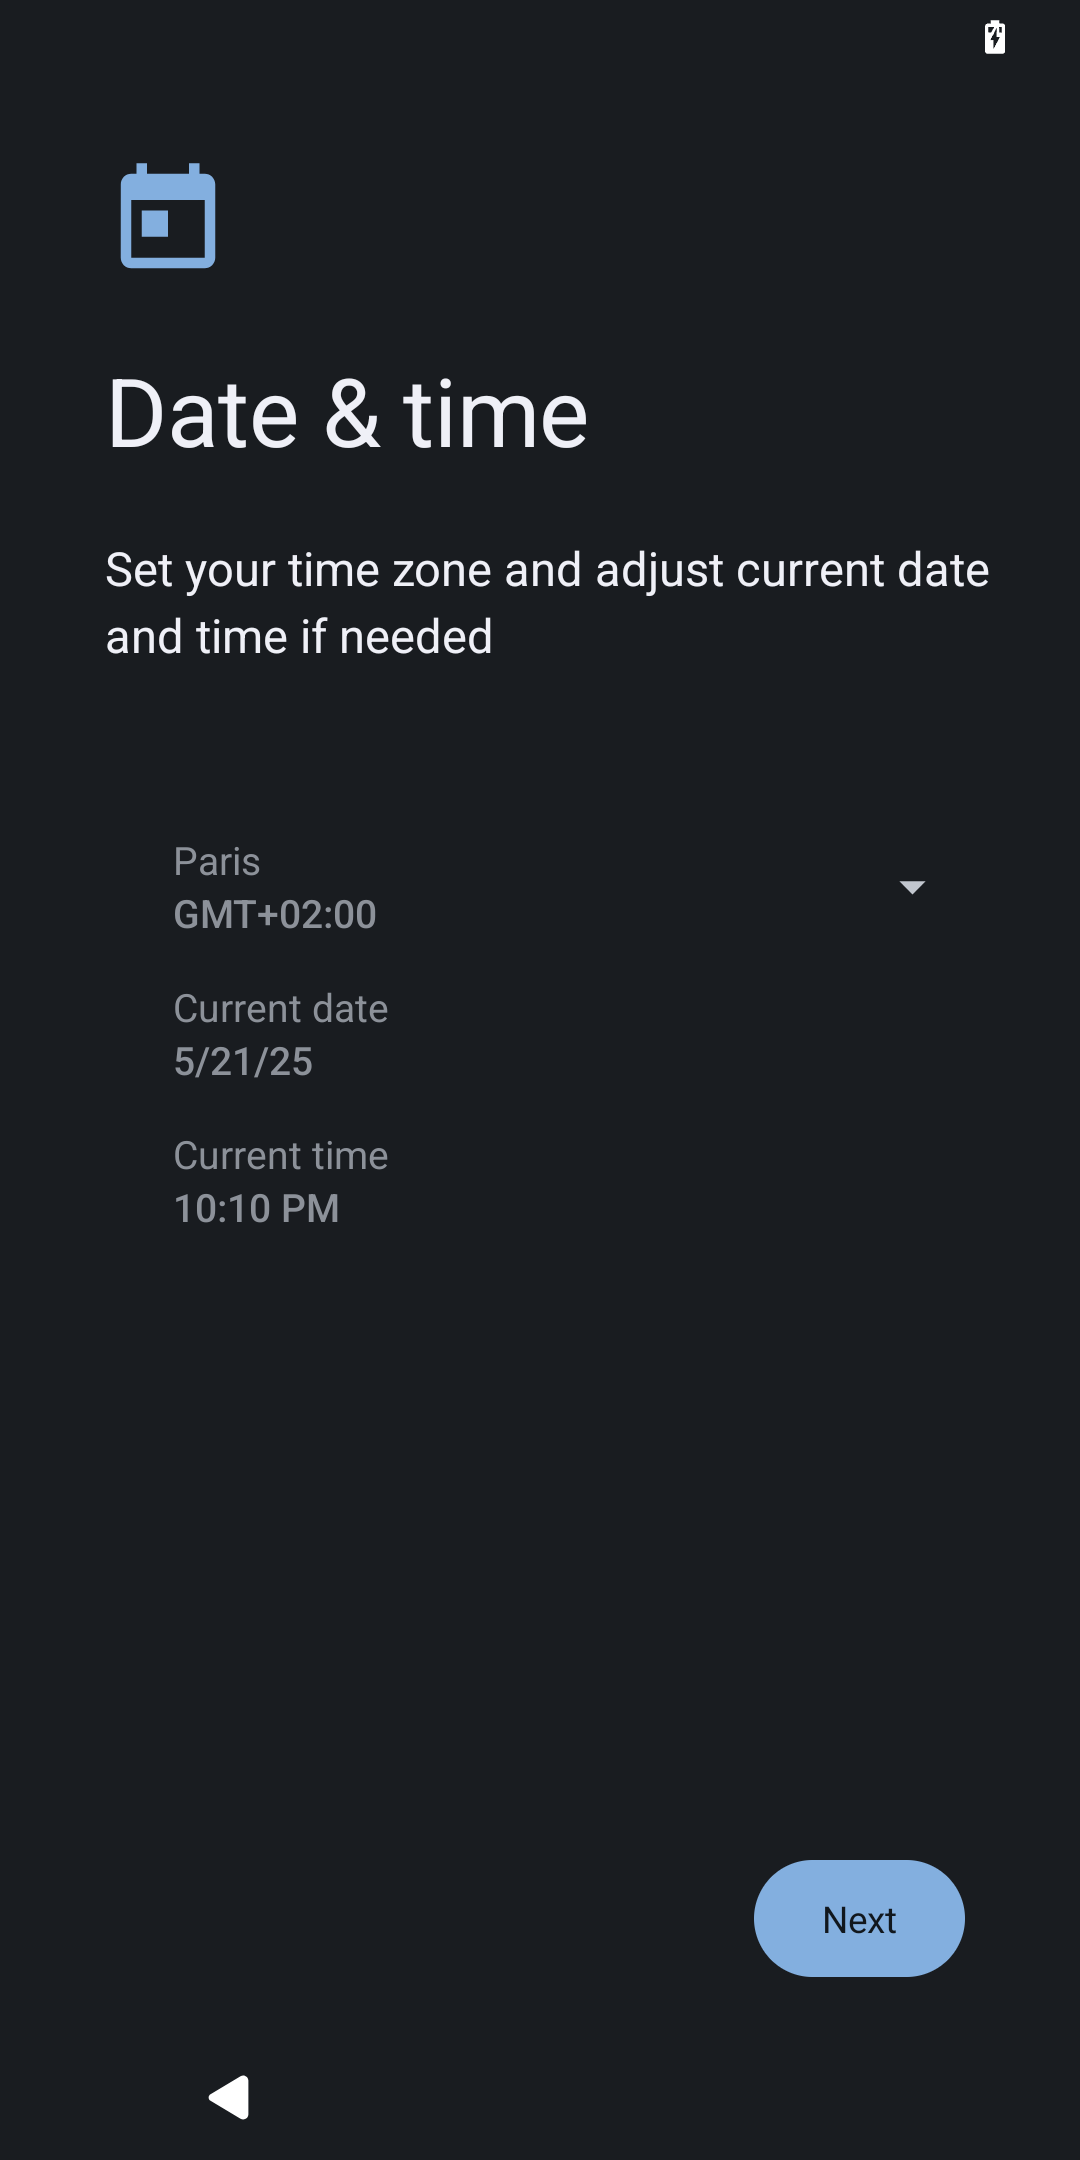
Step 3: Configure Date & Time
Set the time zone and date. These settings are automatically set if you insert a SIM card.
💡Date & Time Settings can be changed in: Settings -> System -> Date & TIme
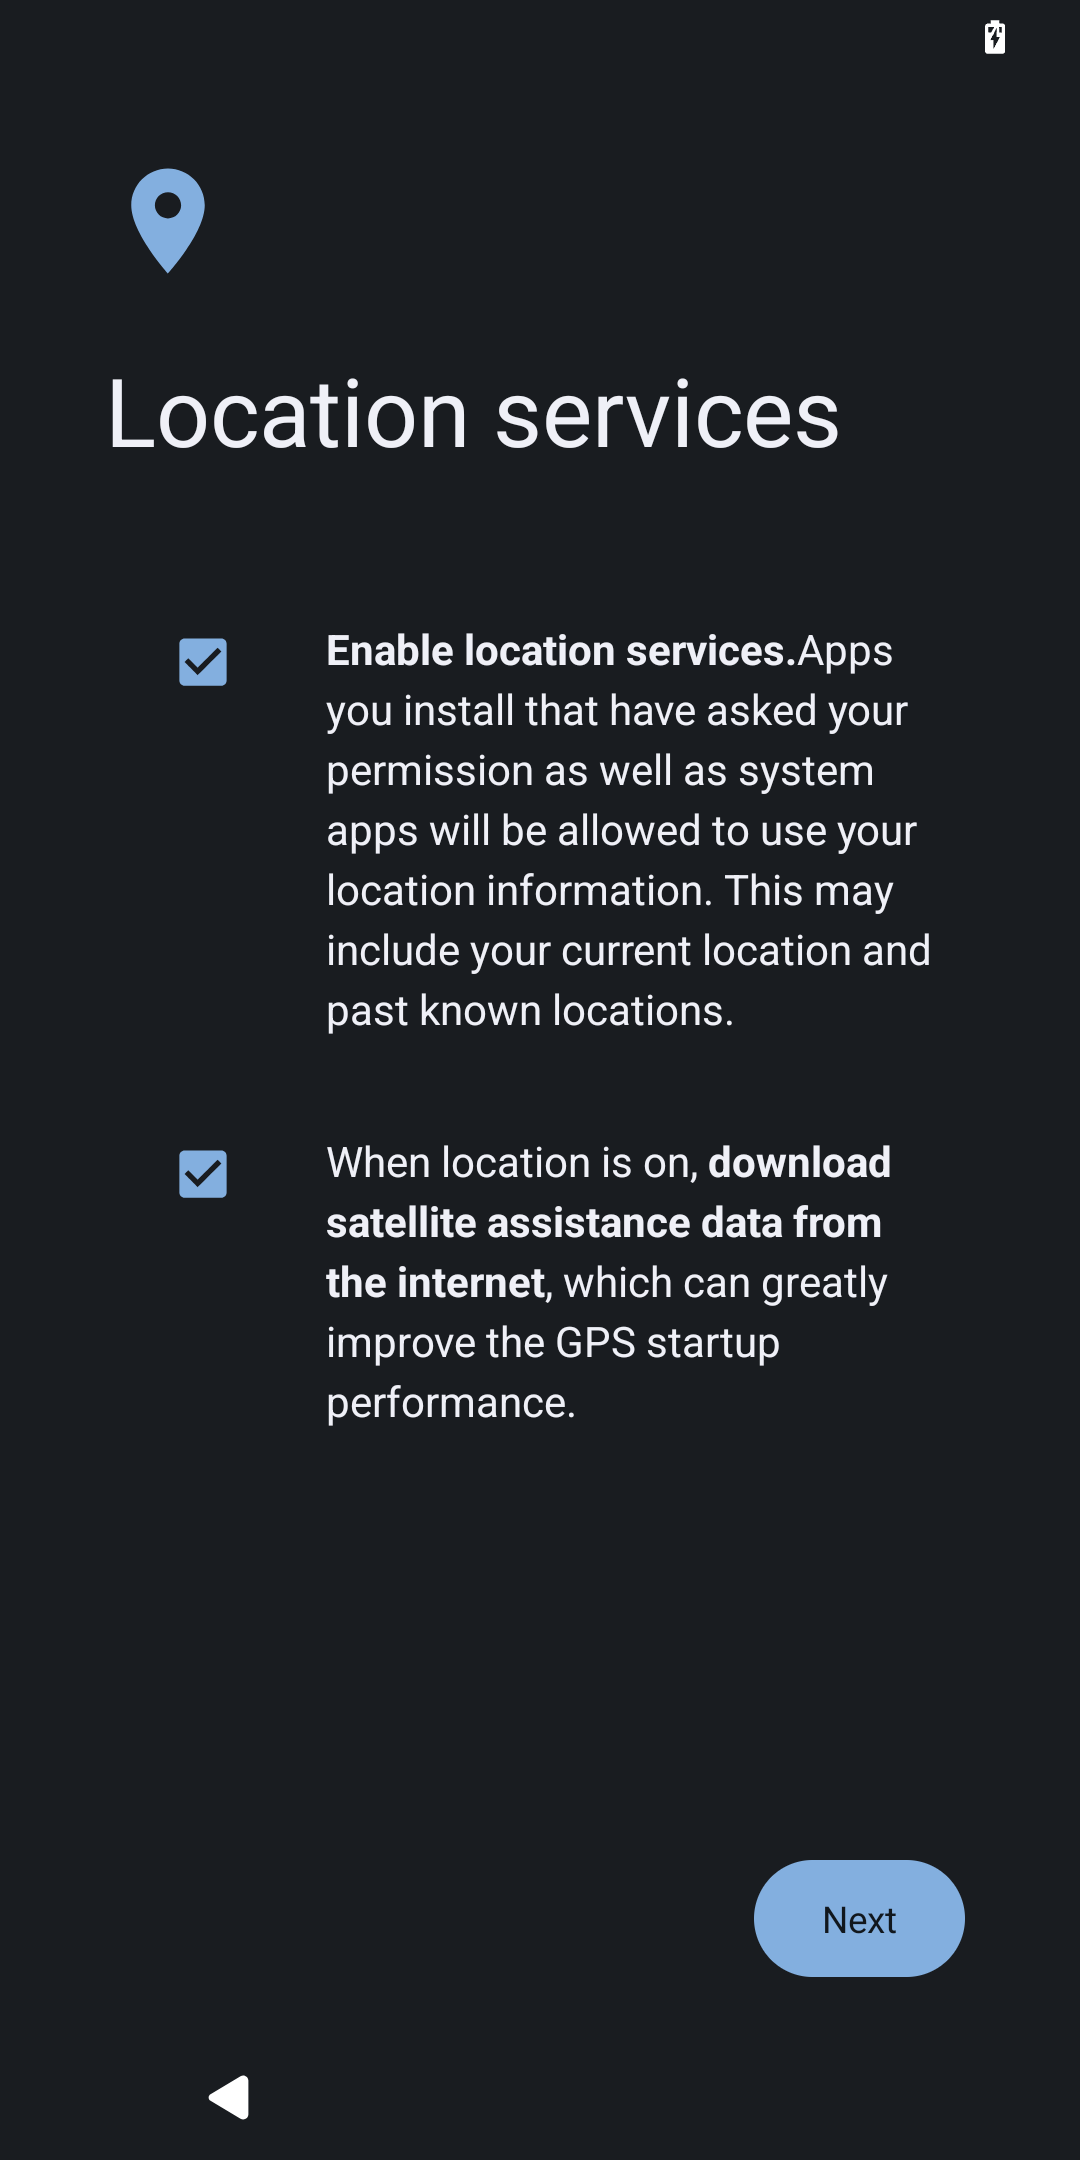
Step 4: Activate location services
This screen controls whether apps and services on your device can use your location data, including GPS, Wifi (opt-in by default) and Bluetooth scanning (opt-out by default) as well as Assisted GPS (second toggle)
💡Location services can be found in Settings > location. Extra settings in Settings -> system -> microG -> location.
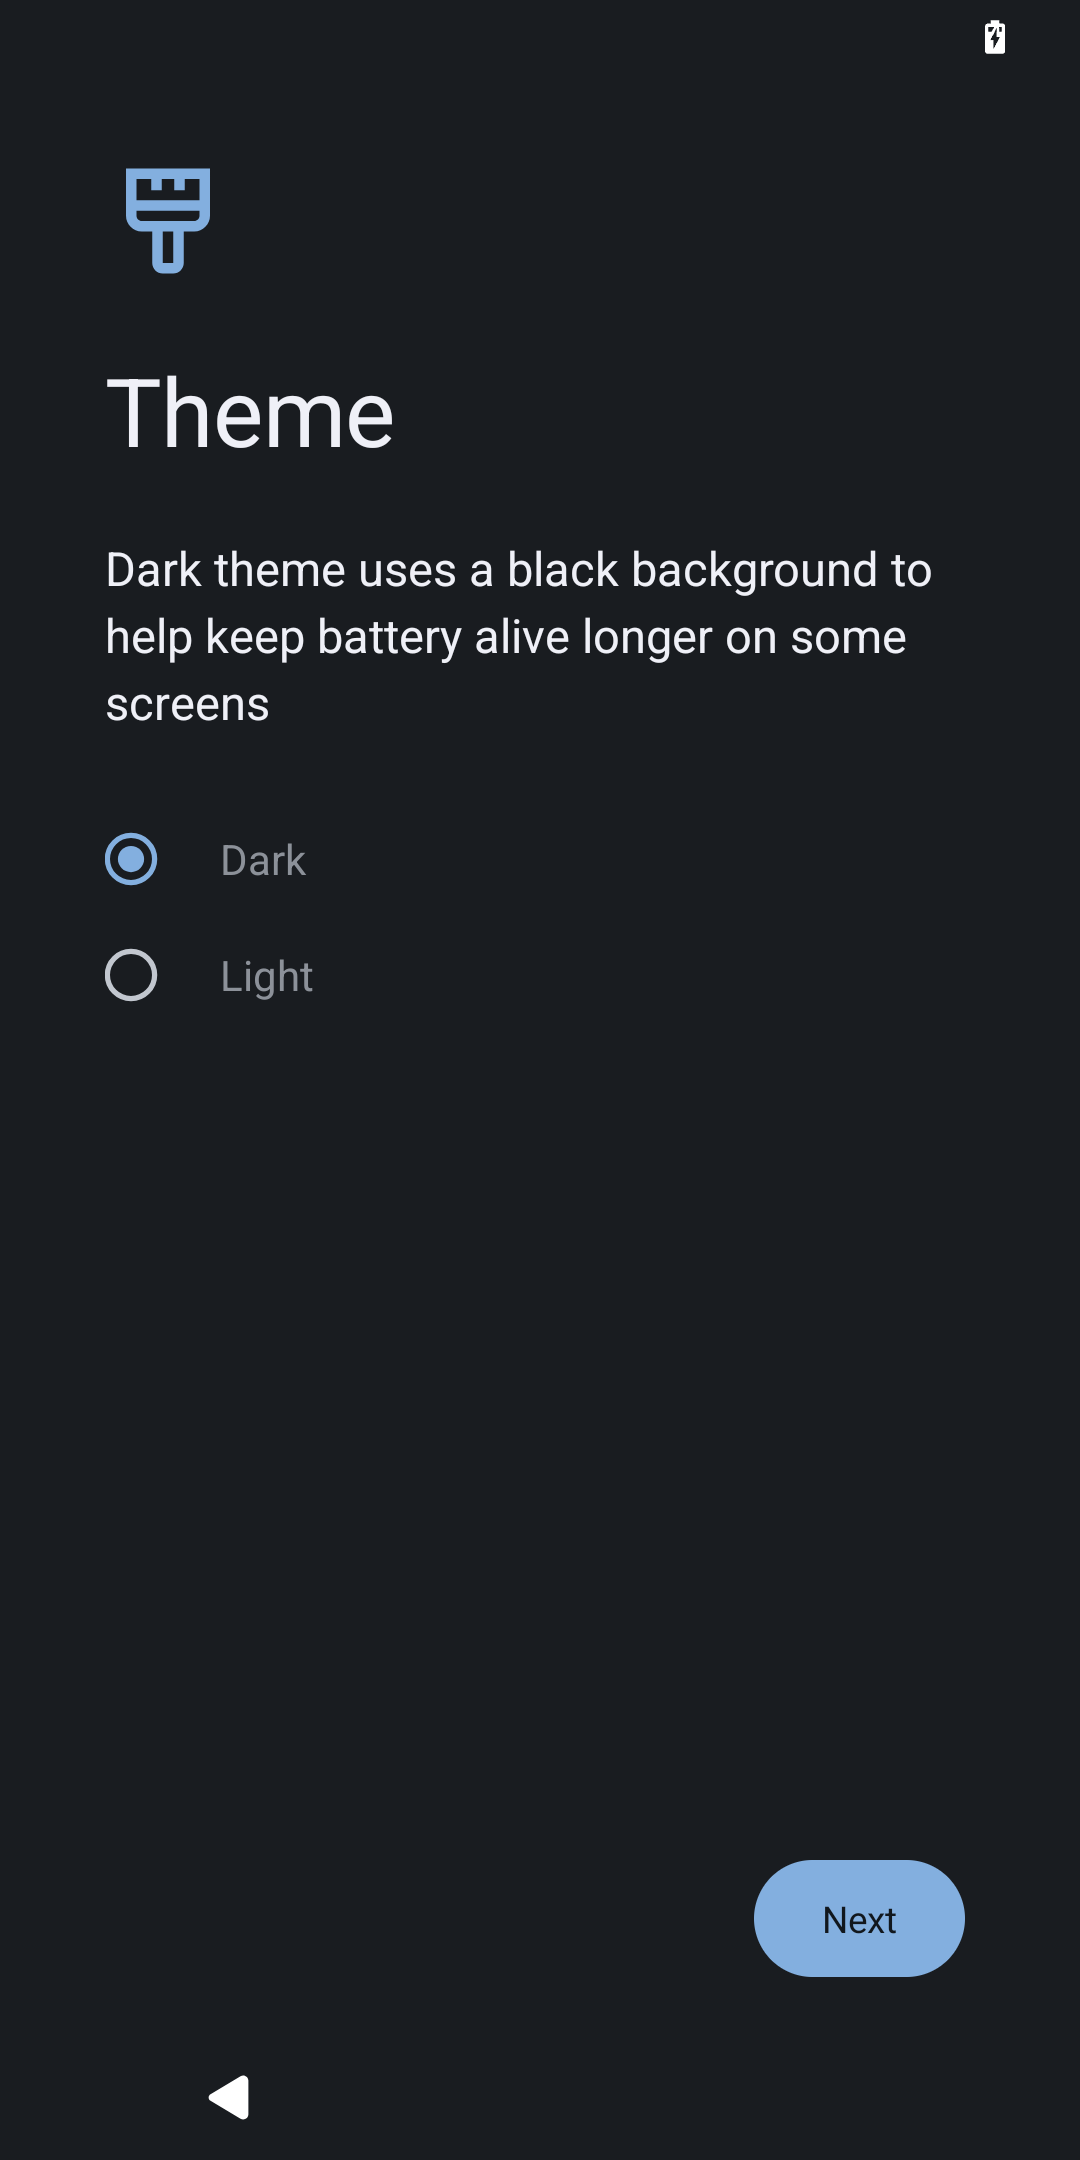
Step 5: Choose a Theme
Dark theme is a global setting that switches system UI and supported apps to a dark background and helps reduce eye strain and save battery on OLED screens.
💡Theme options can be found in Settings > Display > Dark theme.
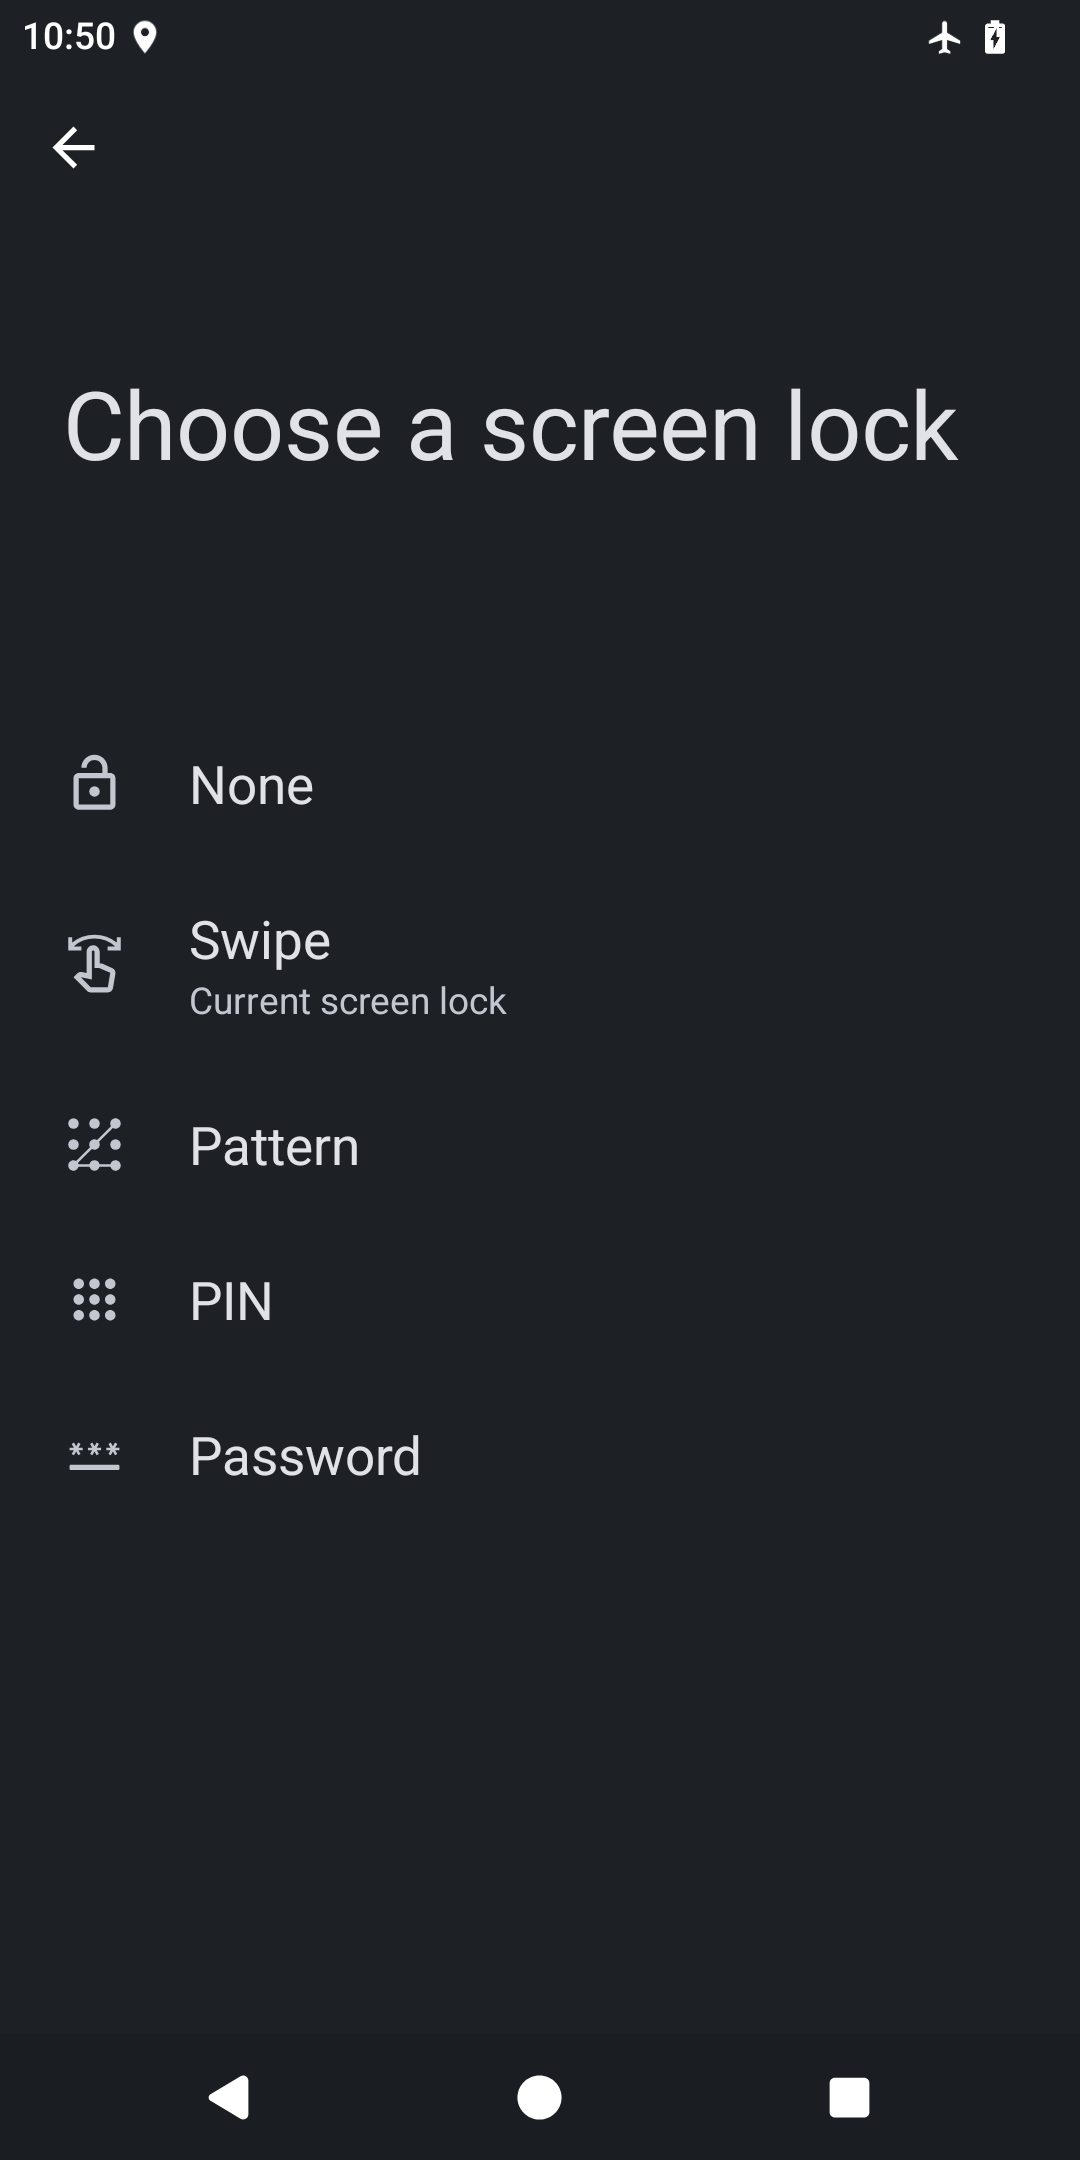
Step 6: Set up Screen Lock & Fingerprint
Set a device unlock method. Choose between PIN, pattern, password, and optionally set up fingerprint unlock.
💡Screen lock and fingerprint options can be found in Settings -> Security & Privacy.
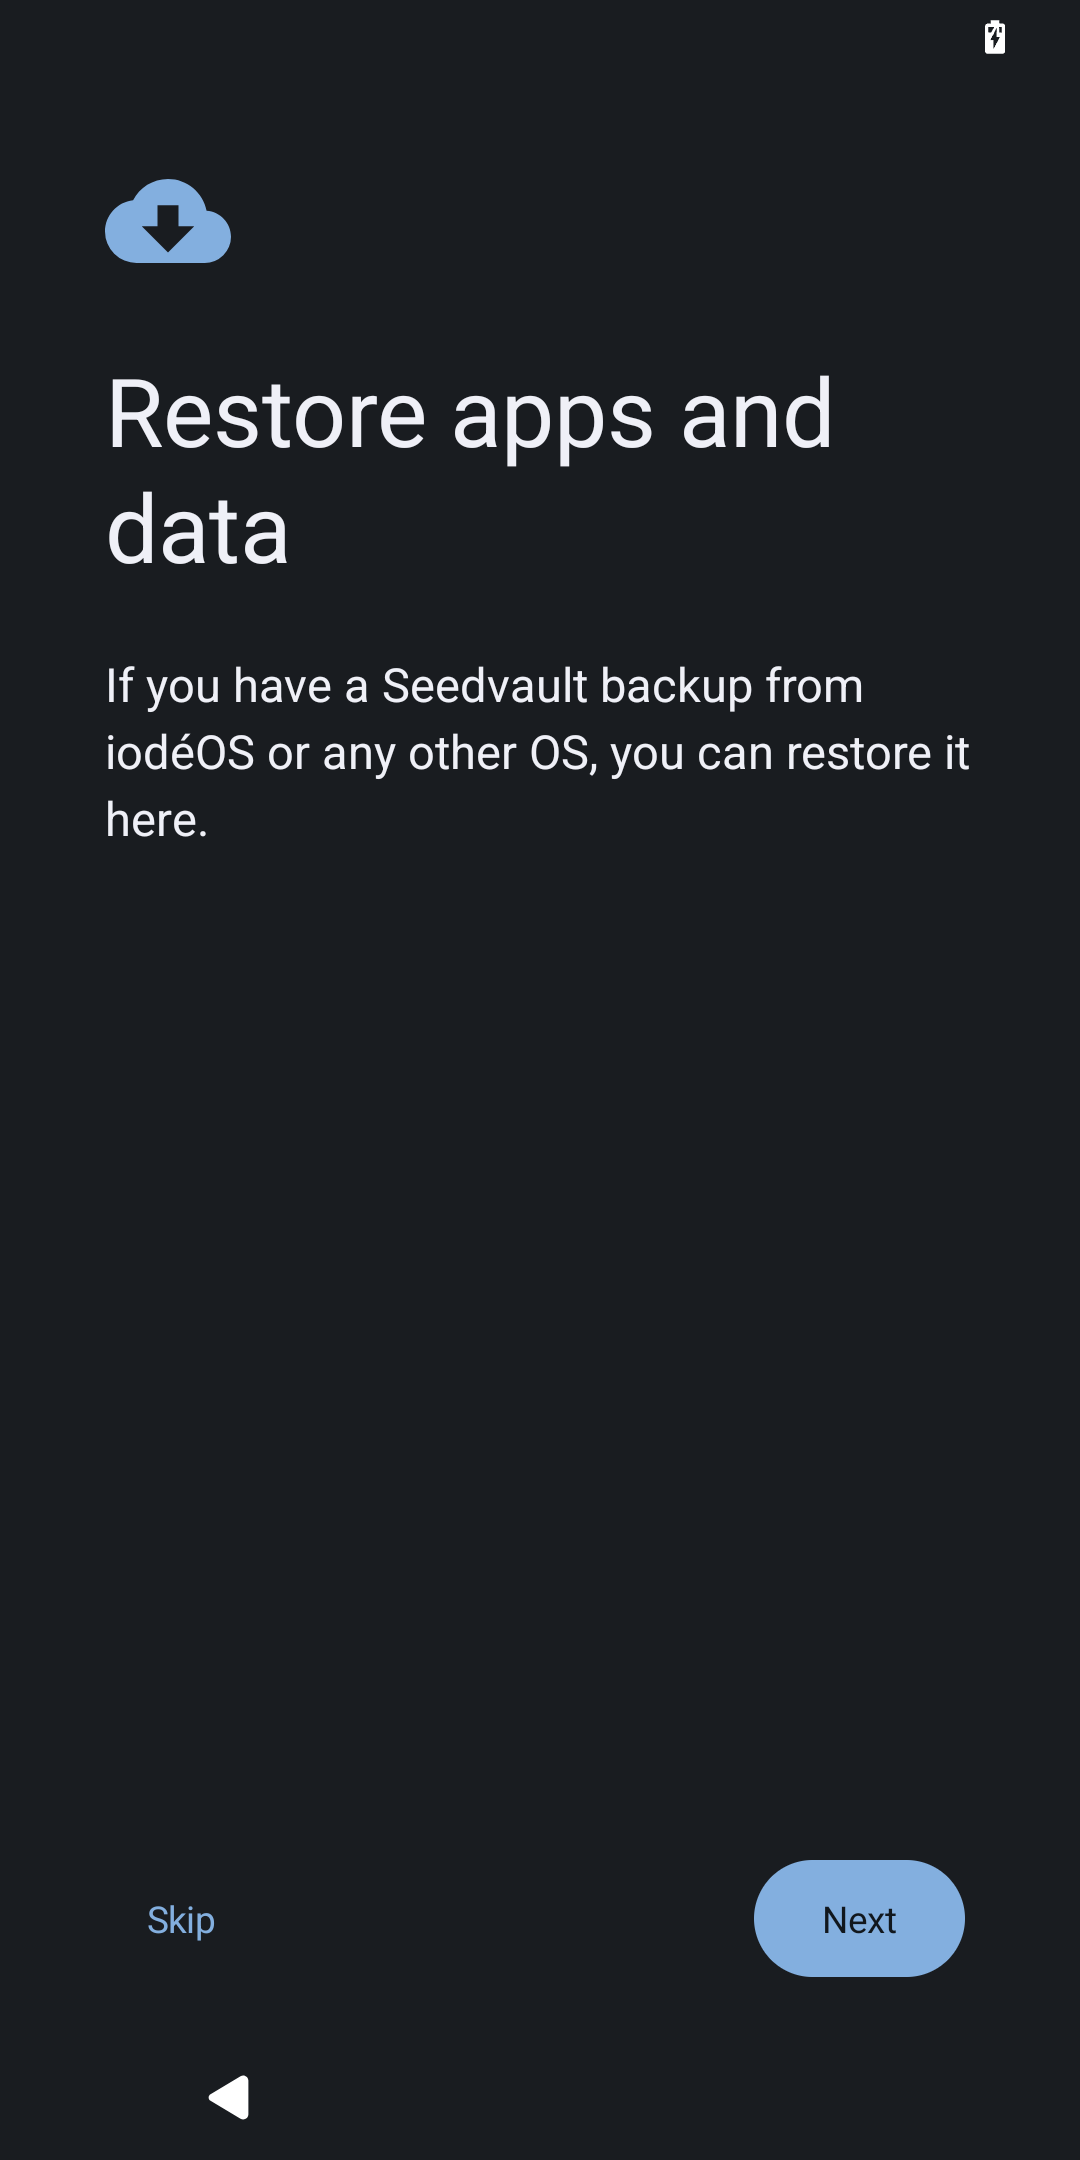
Step 7 (optional): Restore a Seedvault Backup
Choose whether to restore a Seedvault Backup, built-in iodéOS. You can back up apps, data, and settings to USB storage, a local vault, or a Nextcloud instance. This is optional and can be skipped.
💡Seedvault panel can be found in Settings -> System -> Backup.
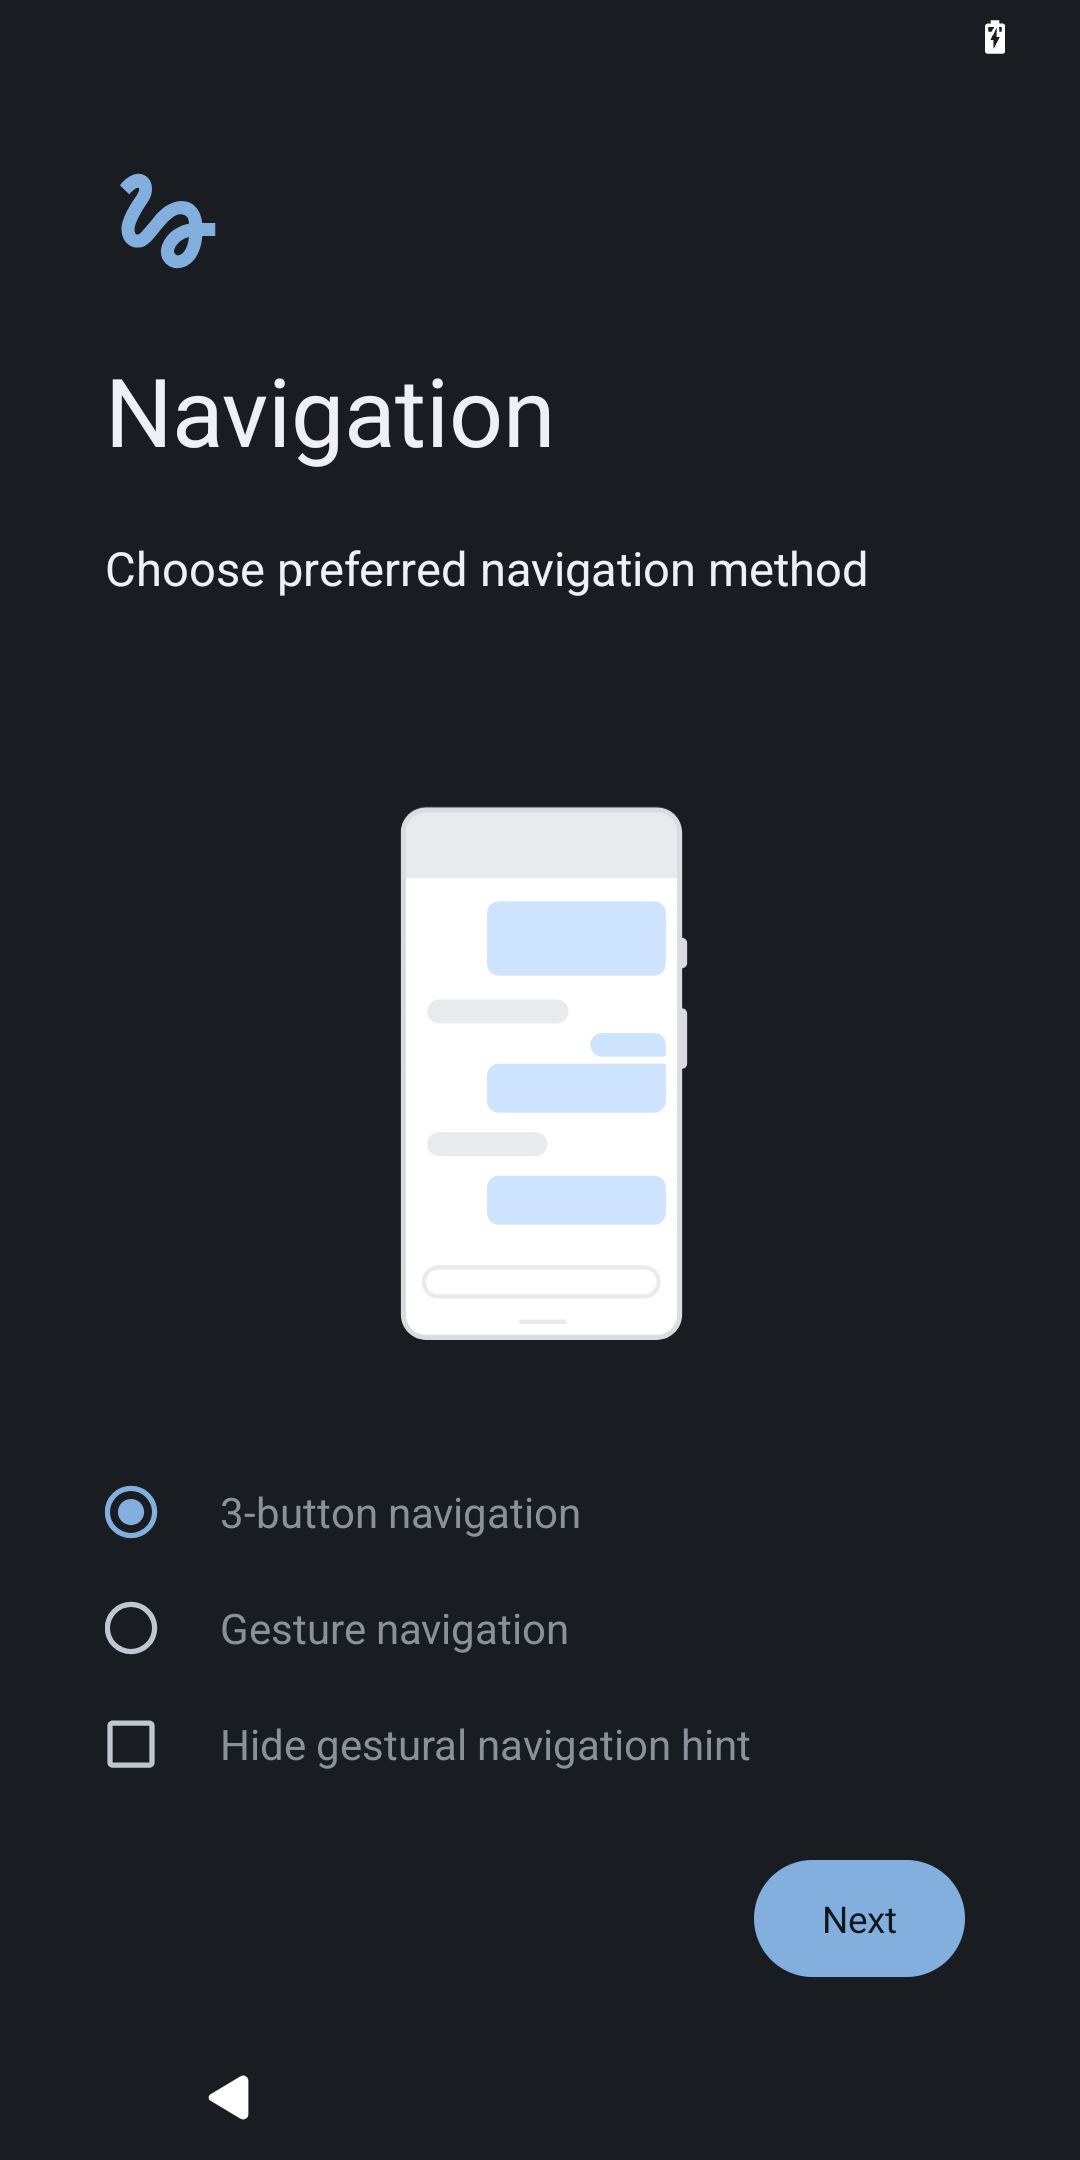
Step 8: Navigation
Finally, like on Android, you can choose what navigation you want to have.
💡Navigation controls can be found in: Settings -> Accessibility -> System controls.
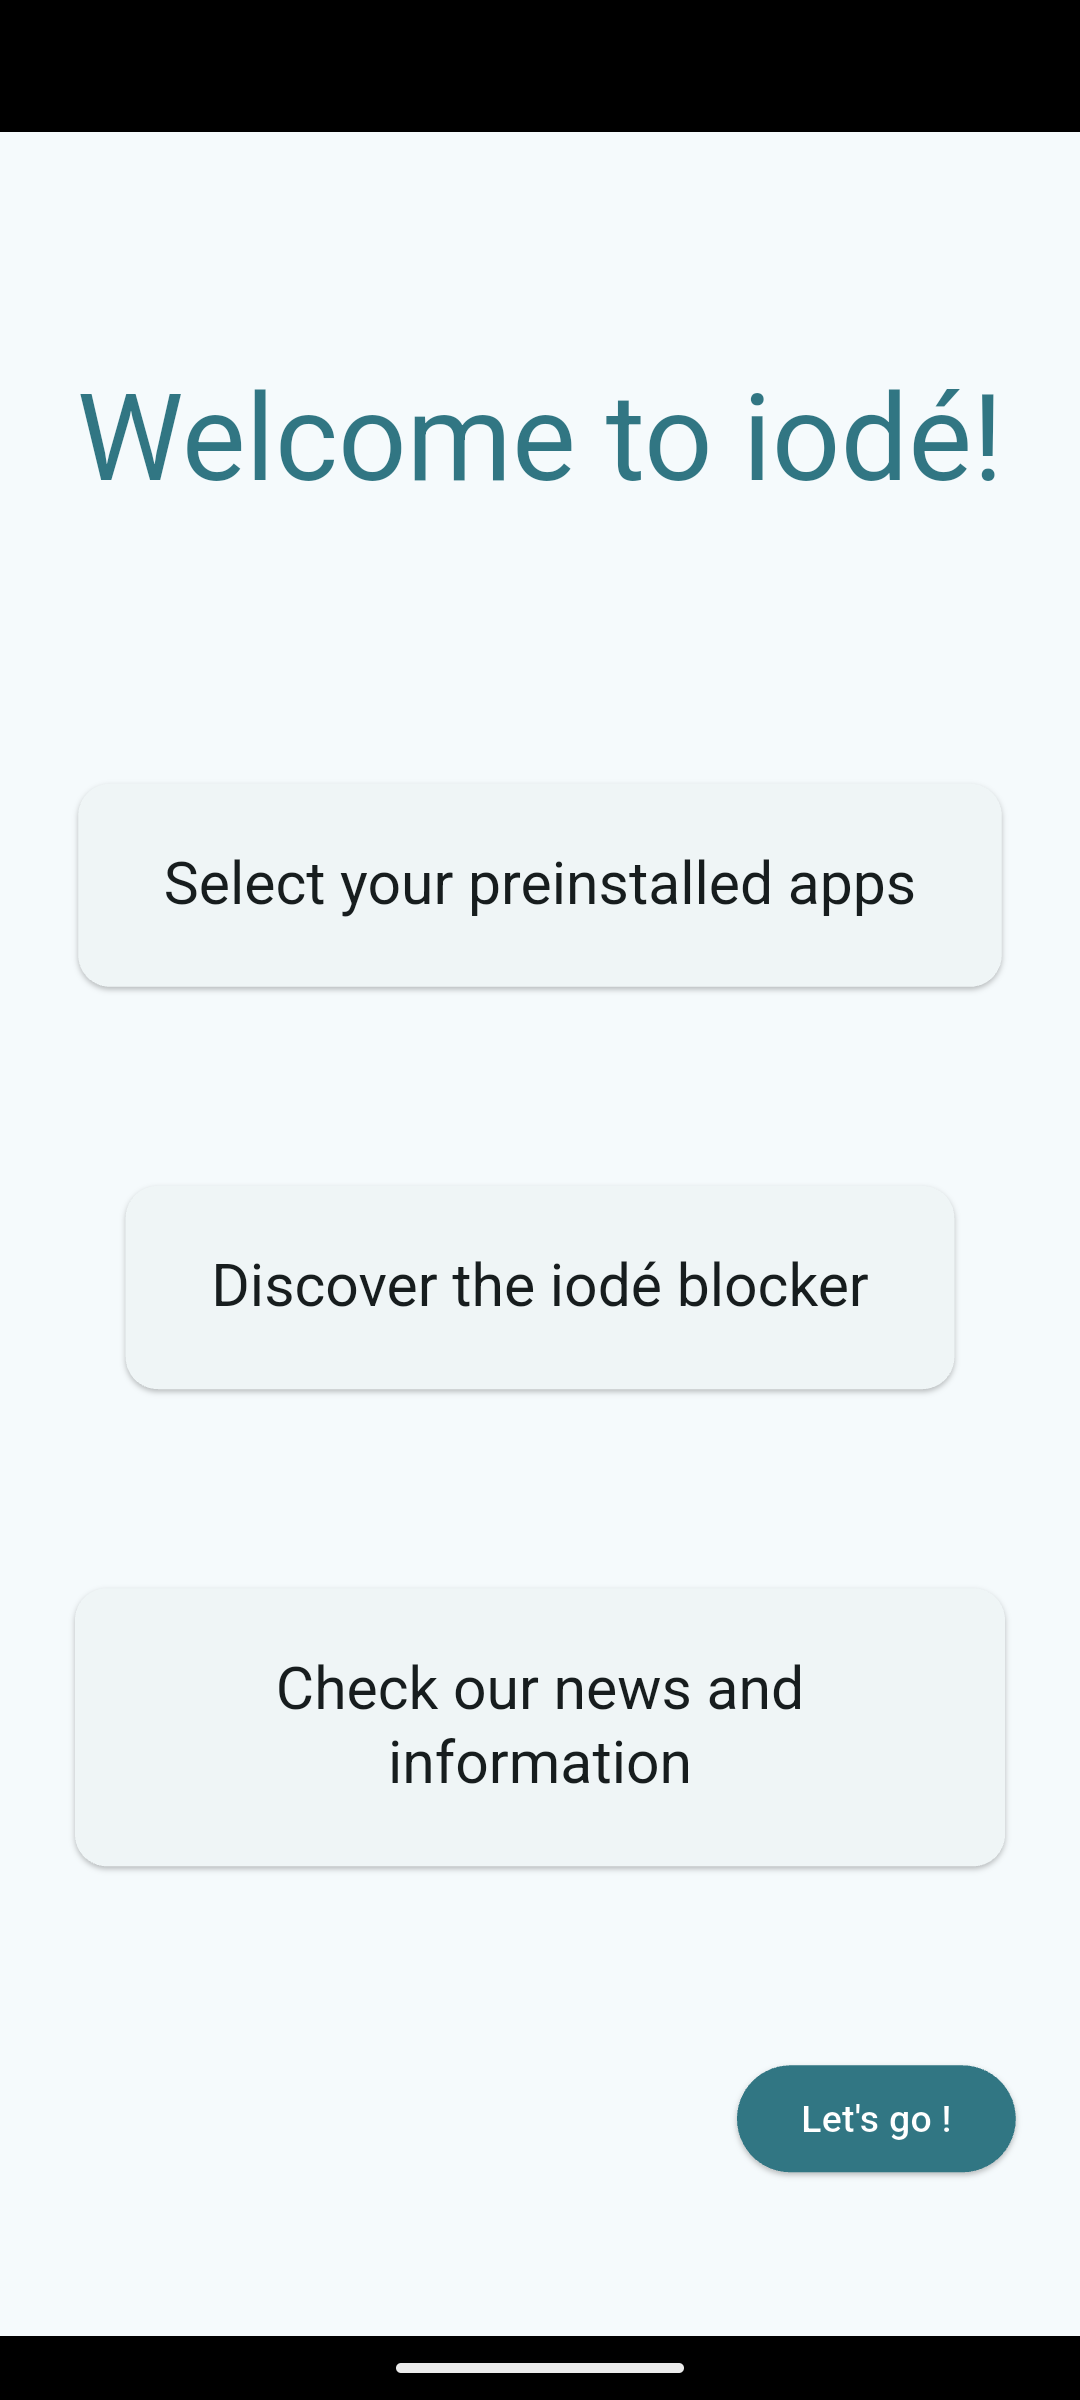
Welcome to iodé!
Once the setup is complete, iodéOS finishes configuring your device and displays the welcome screen. From here, you can customize your app environment and discover more of what iodéOS has to offer.
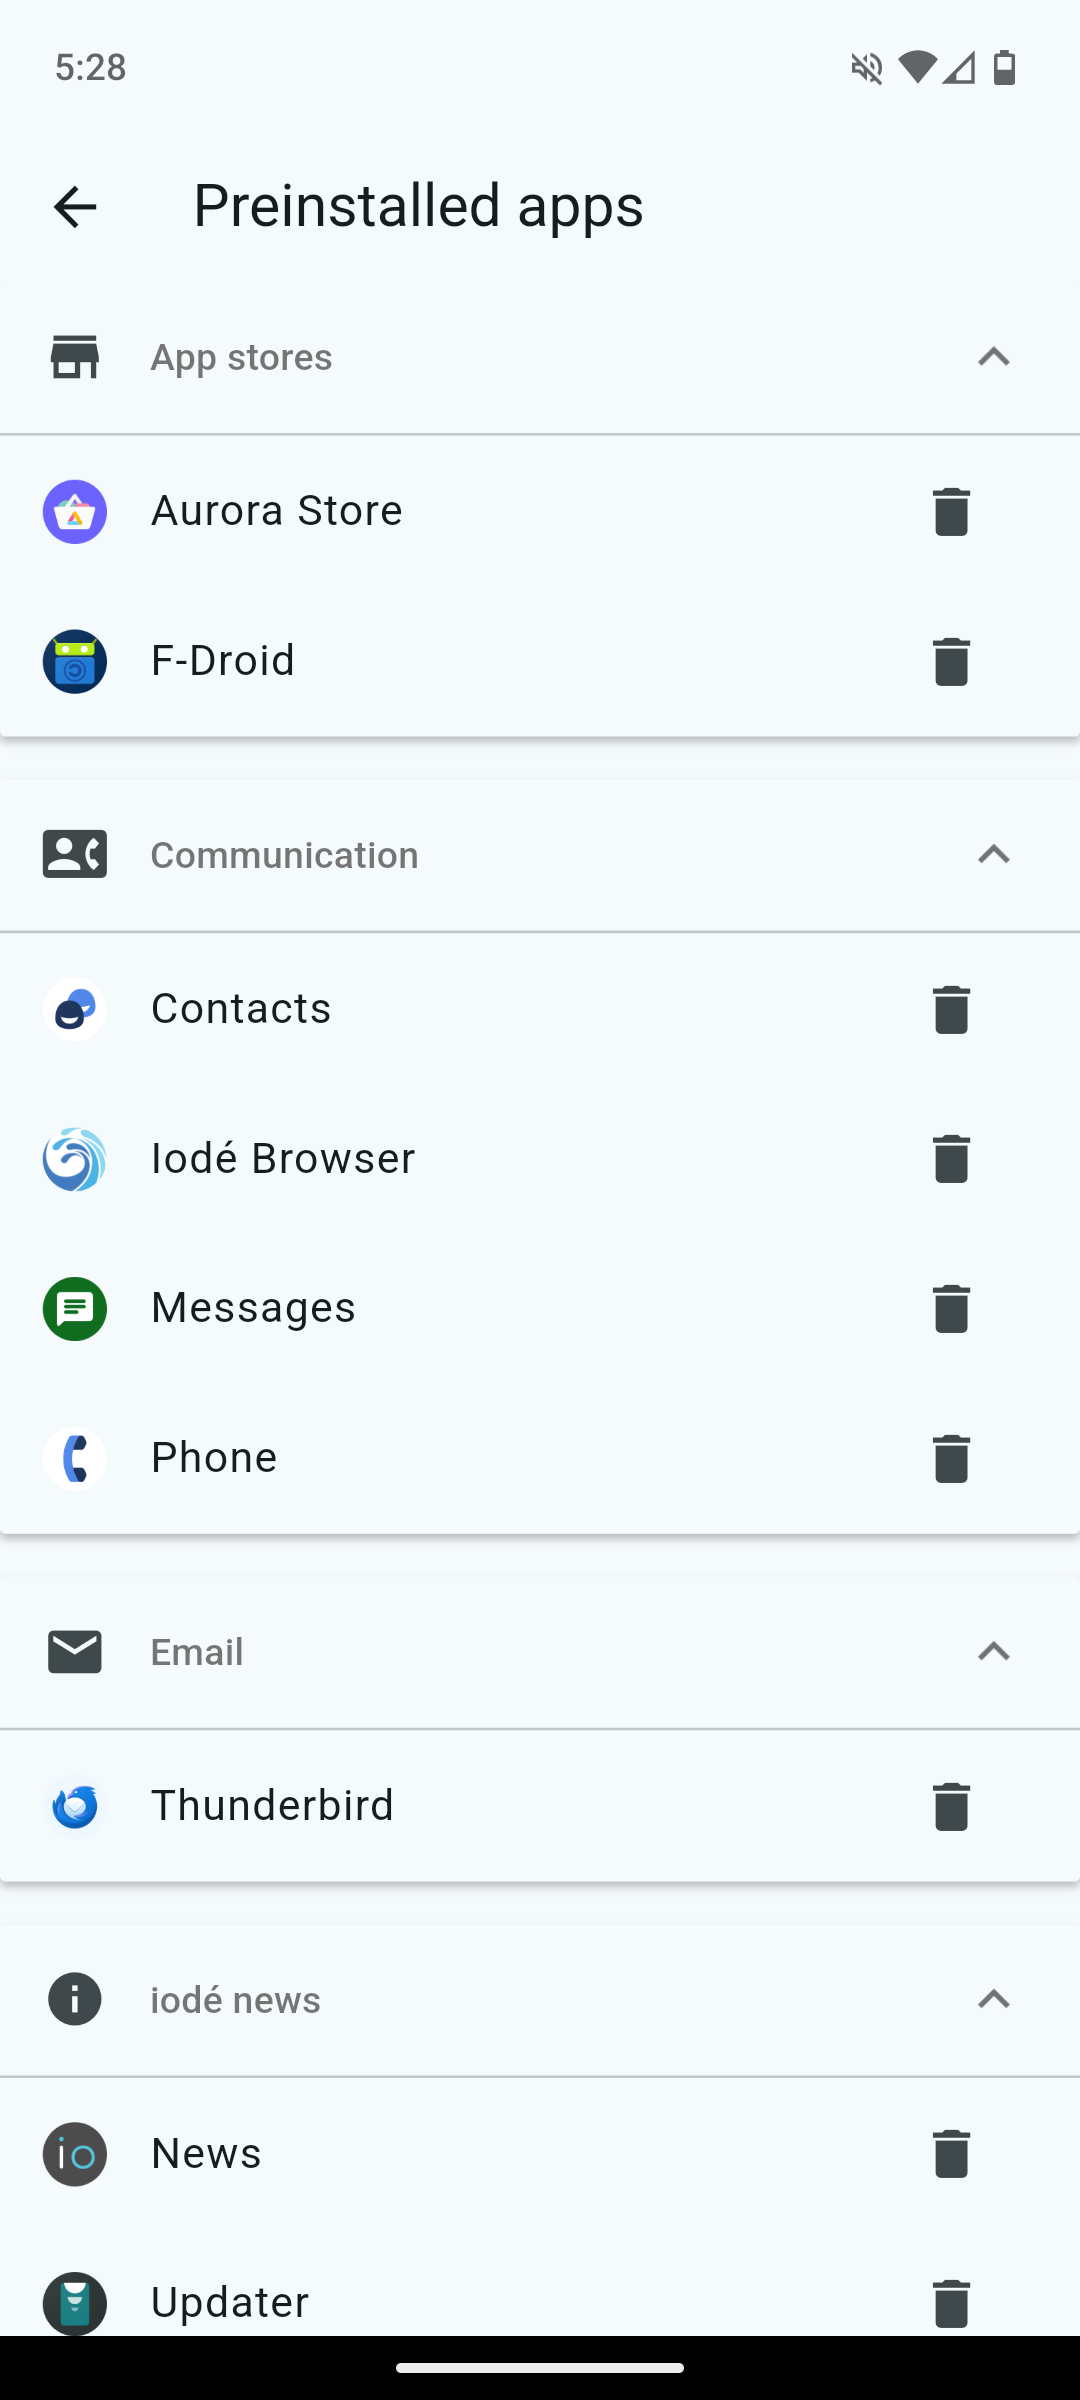
Step 9 (optional): Select Preinstalled Apps
Customize which preinstalled apps to include. Apps are grouped by function (browser, camera, navigation, etc.). You can skip any and remove them later through Settings.
💡Preinstalled apps menu can be found in Settings -> Apps -> Preinstalled apps.